hexo博客搭建
安装流程(windows环境)
node.js安装
官网下载node.exe并安装
安装Git → 安装Hexo
官网下载git.exe并安装(安装教程)
打开 git bash 输入以下命令
npm install -g hexo-cli
Hexo 完成后,请特别的注意看注释。
hexo init hexo init blog #指的是在当前文件夹下新建blog目录作为博客的根目录cdnpm install 安装所有的依赖包hexo server

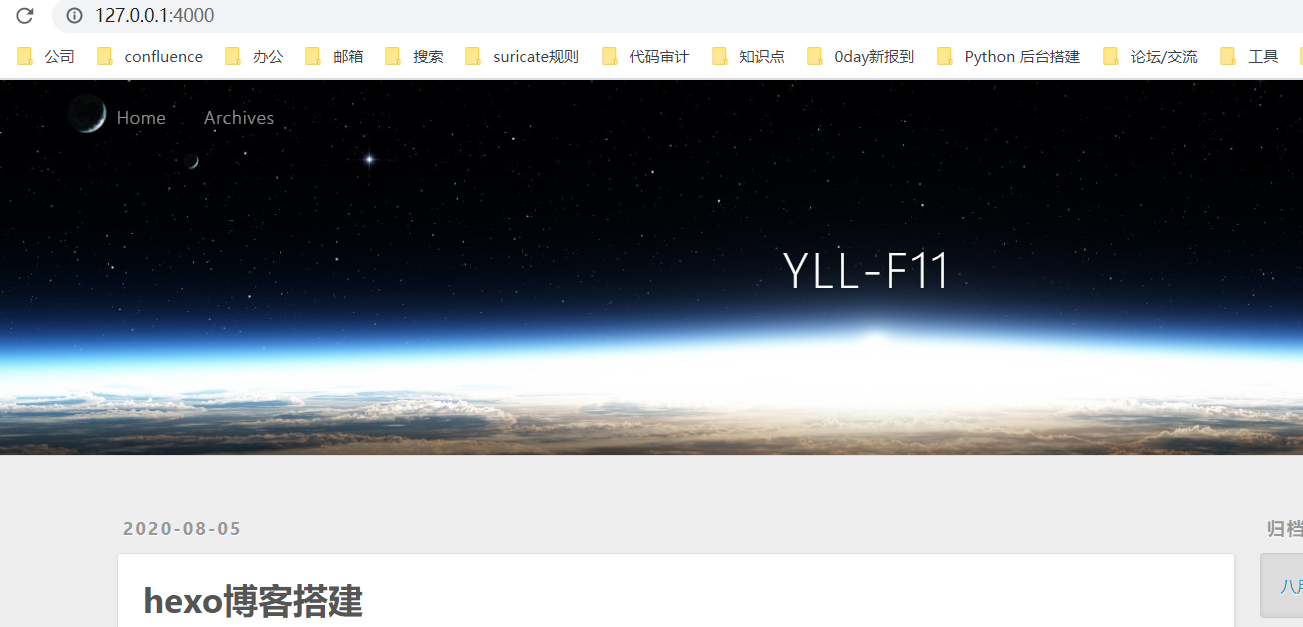
主题更换
hexo支持自由更换主题,并且当更换主题是内容不变(适合喜新厌旧的小伙伴)。我使用的主题是hexo-theme-fluid(使用文档)
将主题拷贝到站点的themes目录下git clone https://github.com/fluid-dev/hexo-theme-fluid.git themes/
同时修改_config.yml中theme字段为hexo-theme-fluidhexo cleanhexo server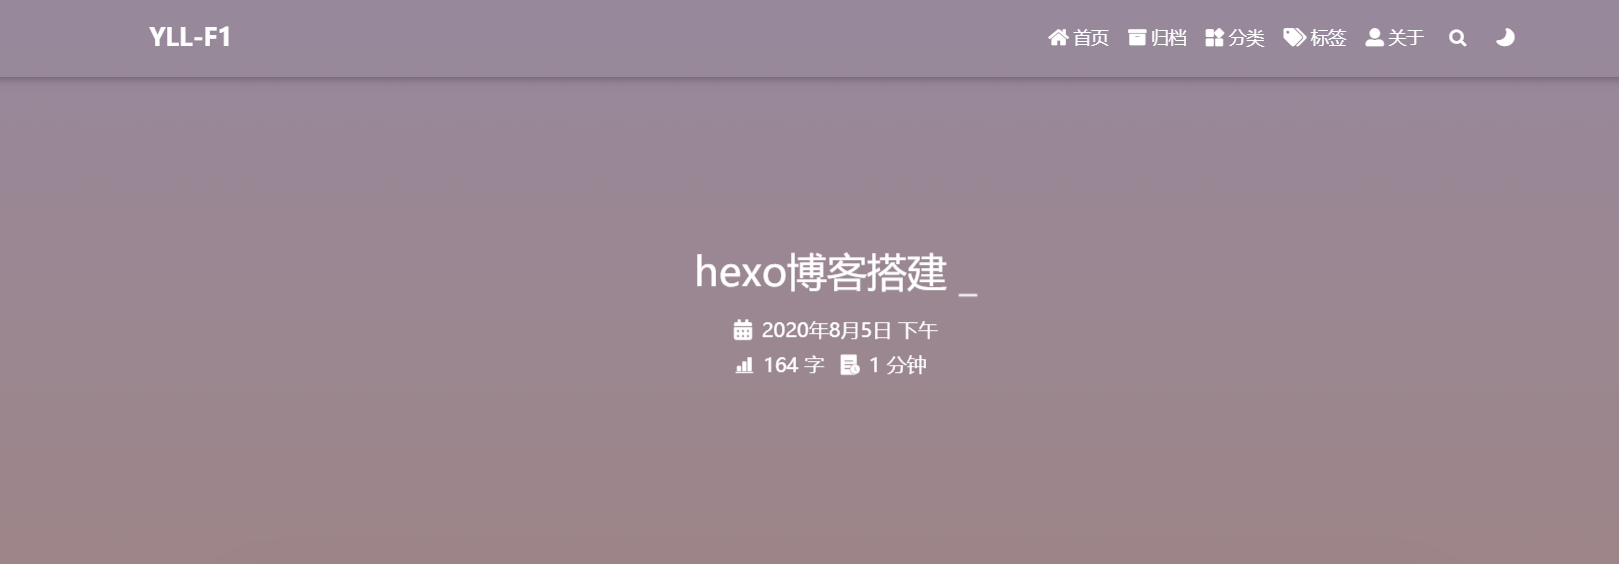
Github托管
注册GitHub账号
在Github官网注册账号,这样我们便拥有的发布的授权。github有许多的功能,发布blog也是我最近才发现的,当然我也正在尝试挖掘其他有趣的function。
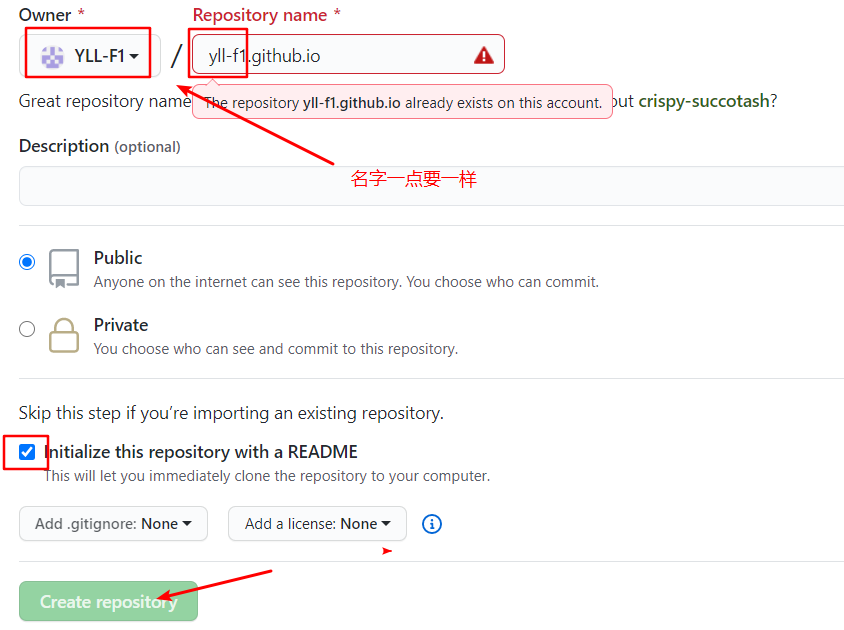
创建repository
设置ssh连接
设置 SSH 远程连接设置Git的user name和emailgit config --global user.name "xxx"git config --global user.email "xxx@qq.com"
本地生成密钥ssh-keygen -t rsa -C "xxx@qq.com"
将生成的id_rsa.pub内容粘贴到github上。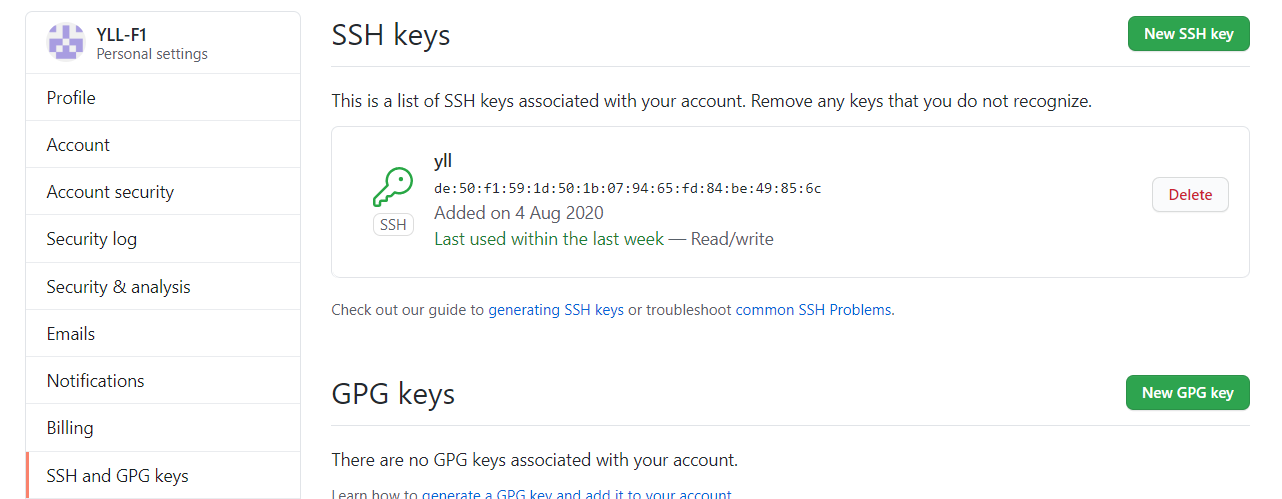
发布到Github
在博客的配置文件中_config.yml 中 末尾添加Deploy
  type: git
  repo:
github: git@github.com:xxx/xxx.github.io.git,master在cmd中执行hexo clean hexo g -d
success
本博客所有文章除特别声明外,均采用 CC BY-SA 4.0 协议 ,转载请注明出处!